Wednesday, January 4, 2012

L IS FOR LOSER

The following dishes were such train wrecks that I'm not even going to bother writing up the recipes -- they're just downright awful.  Besides wanting to clue you in to where all that other food went, I wanted to share some lessons learned from each process.  Like anything in life, sometimes you have to f*** it up to figure out how to succeed.  Like our good friend Thomas Edison said: "I have not failed.  I've just found 10,000 ways that something won't work."  Boom.

BARLEY SOUP
Lesson #1: Soup sucks.
This one was actually the last meal I made and it led me to a pretty monumental conclusion: I pretty much like soup as much as I like wearing dresses.  It's good every once in awhile when the right one comes along, but it's not my go-to meal.


CHILE CHEESE CHICKEN HELPER
Lesson #2: There is only one decent Hamburger Helper on the planet and this is not it.  
I'm very much a fan of the Stroganoff but after trying several different ones, I'm convinced the guy that devised the stroganoff mix was the best employee Hamburger Helper ever had and he only lasted one day.

Lesson #3: Never use chicken from a can.  Ever.
I don't care how lazy you are.  Go the store and buy a f***ing chicken.  


CRANBERRY RAISIN COUS COUS
Lesson #4: Cous cous goes stale.
It tastes like cardboard.  Grainy, grainy cardboard.


CRANBERRY RAISIN QUINOA
Lesson #5: Quinoa goes stale.
Mnyeaaaah.


CUCUMBER SALAD
Lesson #6: Cucumber salad is an acquired taste.
My sister looooooves this sh**.  I do not.  I gave it the good college try, though.
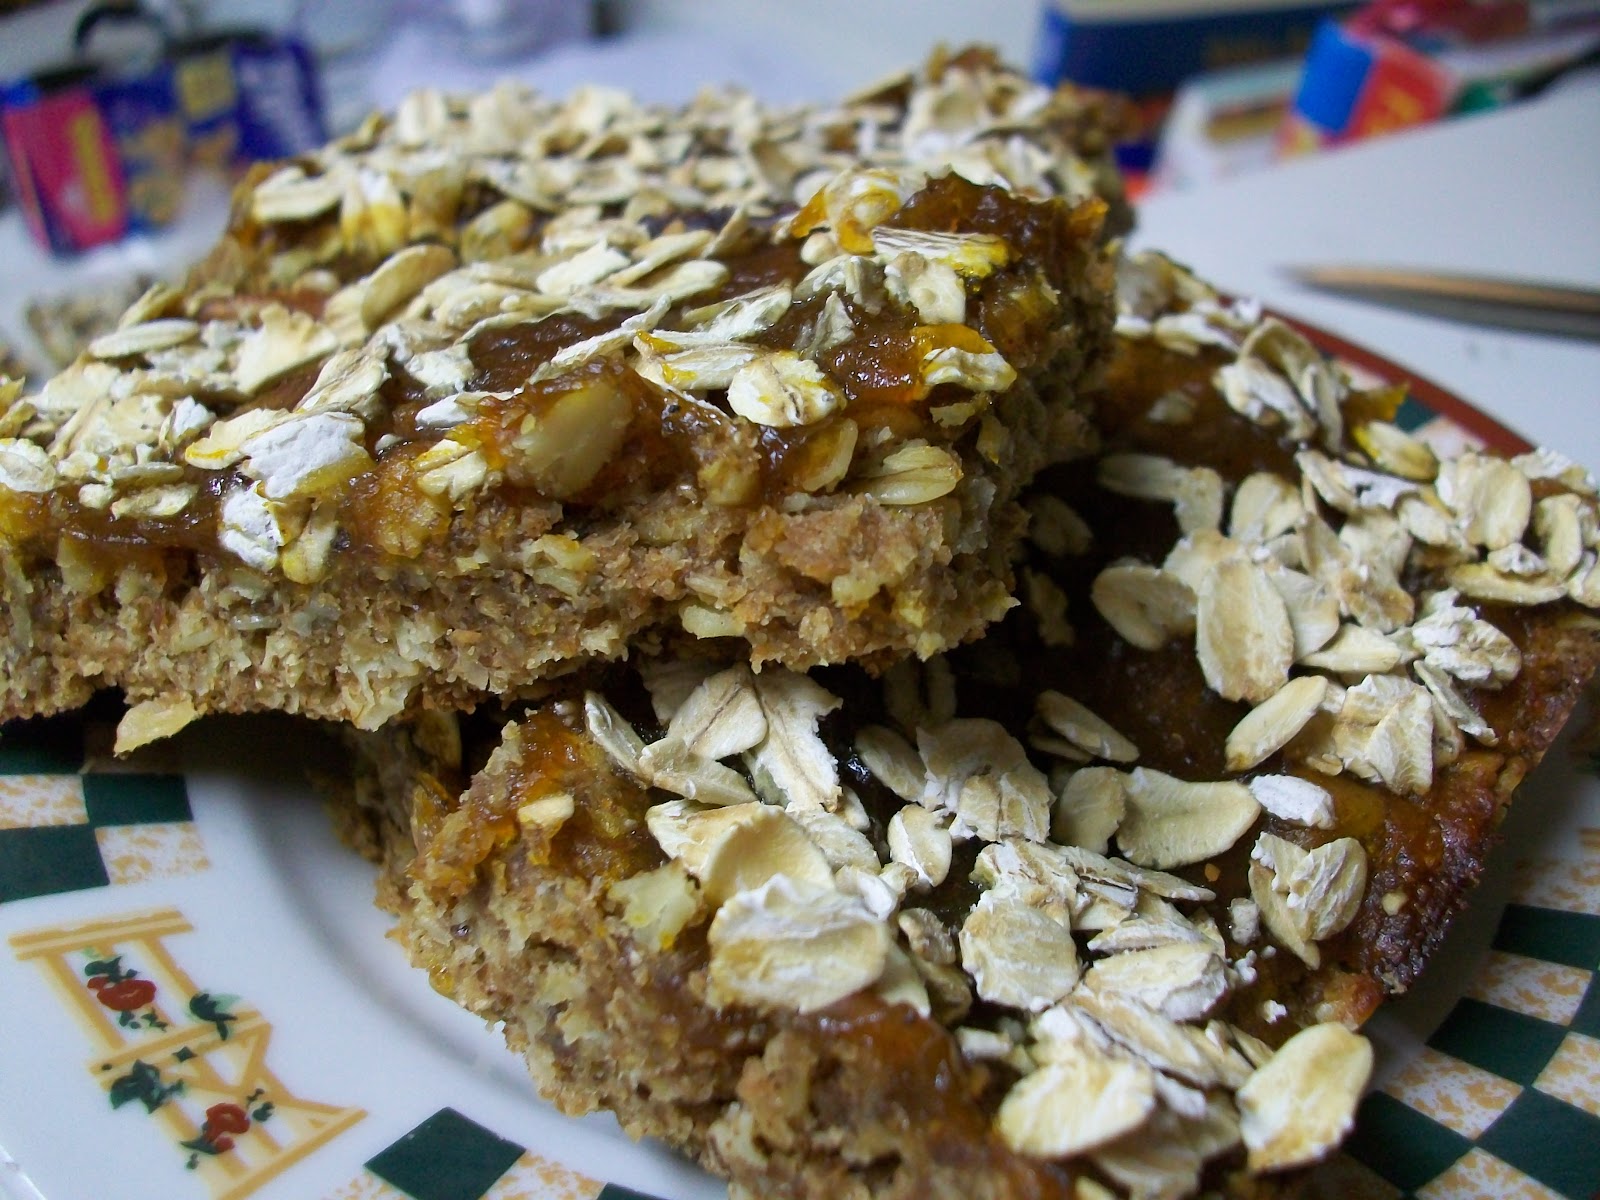


CURRY POLENTA
Lesson #7: Cumin seeds are best used sparingly.This is by far the most disgusting thing I made throughout this whole escapade.  I used the packet of aloo gobi spice I had and since I've made aloo gobi before, I thought it would be fine.  When I made aloo gobi, however, my recipe had about a tenth of the cumin seeds as this packet.

Lesson #8: If you taste as you go, taste a mouthful.  What I found strange was that I tasted every time I added spice.  But apparently I missed the hole cumin seeds when I did.


DOWN HOME CASSEROLE
Lesson #9: Things that taste good apart do not necessarily taste good together.  Stuffing is awesome.  Broccoli is super yummy.  Grits are boooomb.  But don't put them together.  It's not like chocolate and peanut butter.  They are not friends.


ENGLISH MUFFIN BREAD
Lesson #10: Yeast expires.  Even if it doesn't say it's expired on the package. -_-

Lesson #11: Baking powder expires.  You'd think that using the same can of baking powder  my whole childhood would've tipped me off, but no, I didn't know this.  Baking powder and soda should be replaced about every six months.

Lesson #12: Low and slow.  Admittedly, because I'd never made this before it wasn't my fault it didn't cook in the middle because I followed the instructions    to the letter, but this time-honored cooking tip warrants a nod here.
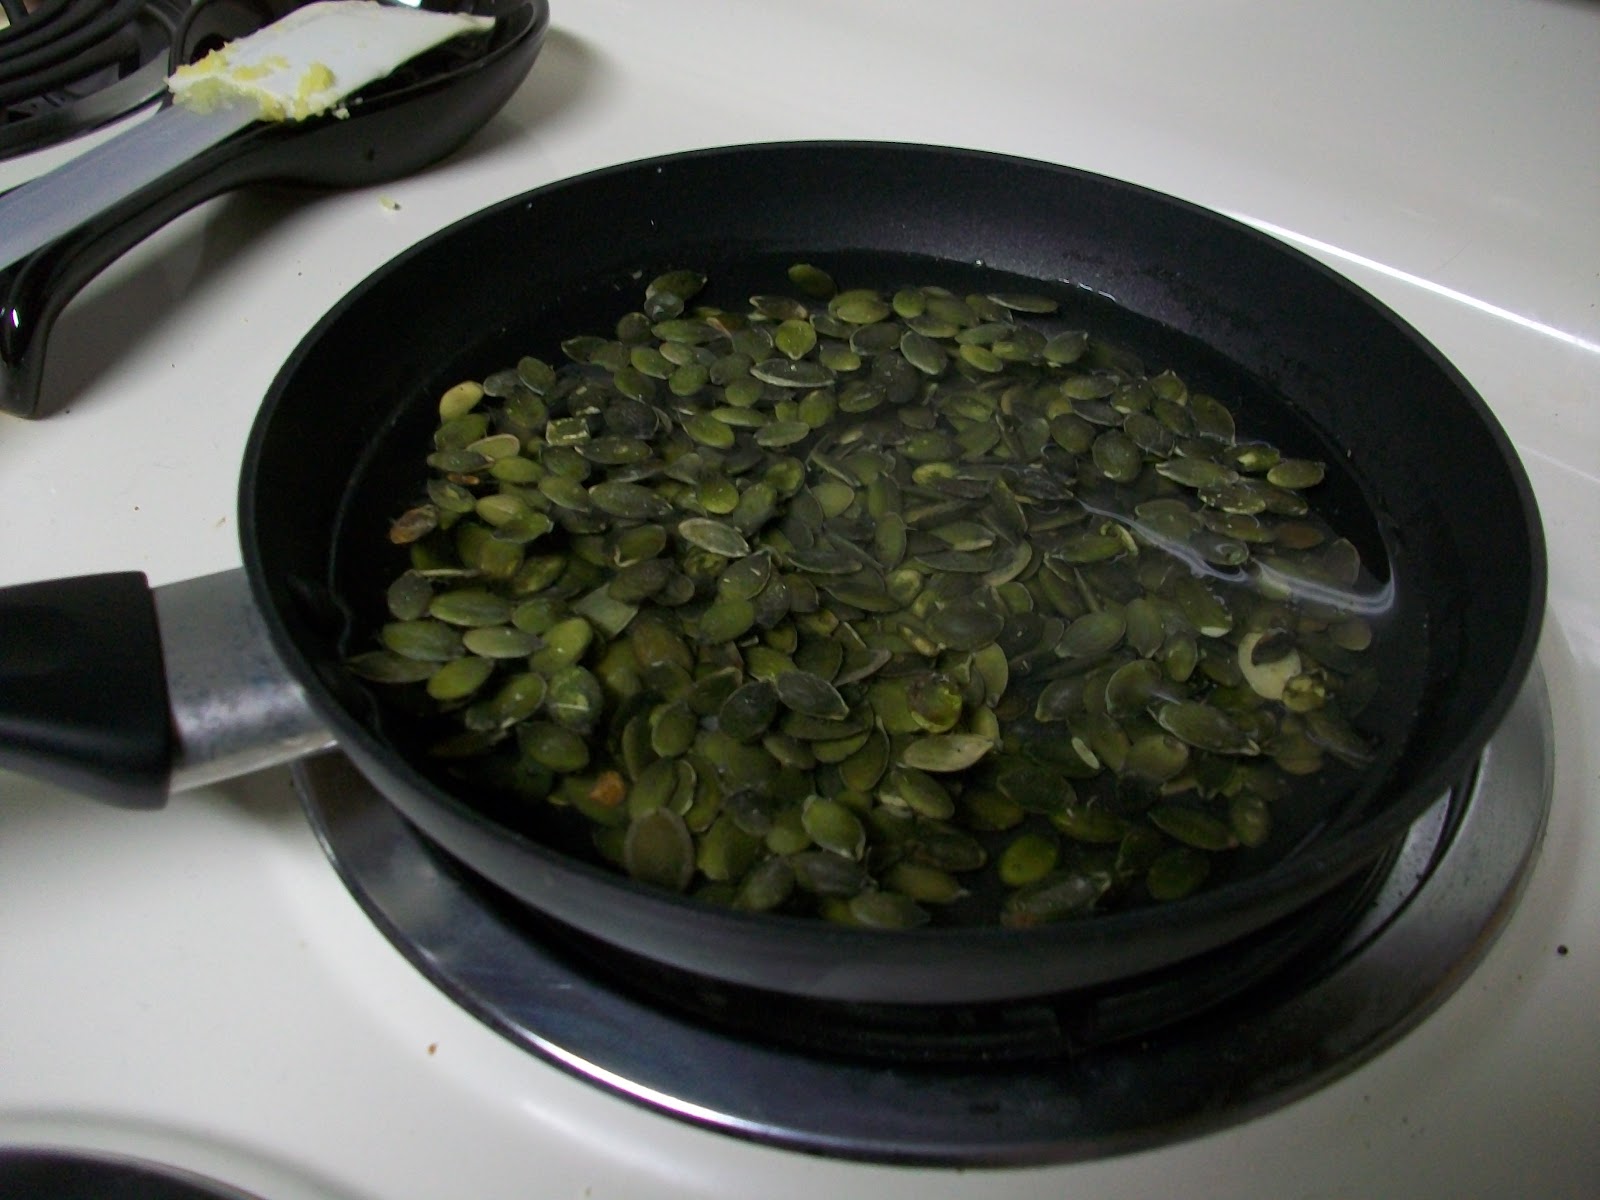

FLAX CRACKERS
Lesson #13: Crackers have fat in them for a reason.  Try making low-fat crackers some time.  Your dentist will be pissed.


HALLOWEEN CANDY REMIX
Lesson #14: Chocolate is a ninja.  It has to be tempered, it doesn't melt quickly, and what tastes good out of the wrapper doesn't necessarily taste good once it's melted down.  Everything seems fine and then all of a sudden, out of nowhere, chocolate will give you a jump-kick to the nuts without even batting an eyelash.

I've done chocolates before but I use the Wilton melts, not wrapped candy.  I also suspect that the chocolate wasn't too fresh, but it tasted fine at first.

Lesson #15: Chocolate has epilepsy.  Yeah, chocolate has seizures.  If you add water (or, say, microwave it with raisins in it) it will "seize," meaning the smooth meltiness will disappear into a grainy, rocky, nasty concoction that no one wants to eat.


PEPPERONCINI COUS COUS
See: Lesson #4: Cous cous goes stale.  I didn't realized that's what was wrong with the first recipe so I used it again.  Variable isolated.  Booyah.


SALSA RICE
Lesson #16: Cutting corners isn't always worth it.
When I saw a recipe that was literally rice cooked in a jar's worth of salsa, I was like "Hell yes!  Super easy!"  But then I came face to face with this sticky, gummy, sour mess.  Blech.


SIOUX INDIAN PUDDING
Lesson #17: Some flavors aren't for everybody.
I love gingerbread.  I love pudding.  I think you can do pretty much anything with cornmeal.  But I just can't like Indian pudding.  It so strong with molasses that it's a total turn-off to me.  If you like that sort of thing, go for it, but you'll be enjoying it without me.


WHOLE WHEAT SODA BREAD
Lesson #18: Replace white flour with wheat flour sparingly.  I love wheaty breads so I made the mistake of replacing all the flour with wheat flour and it ended up not cooking or tasting right.


GROSS BEVERAGES: CHAI COLA & ACAI WHITE TEA

Lesson #19: Chai good.  Cola good.  Chai cola bad.  Why the frick do they make this?


Lesson #20:  Anybody who ever tells me they like white tea is gonna get a punch in the face.  Why?  Because you're an alien and I won't stand for it.


Stay tuned for my recipe wrap-up, a few more lessons, and my first trip to the grocery store!  In the mean time, tell me some lesson's you've learned in the kitchen....

OAT BERRY BARS


If there's one recipe that I never would have thought to try but will keep 'til the day I die, it's this one.  Originally from Rachel Ray and reincarnated on Beloved Green, I put my own spin on the recipe -- some substitutions and altered directions -- and it's downright awesome.  I will warn you that my sister actually didn't like it, but she said it's because she doesn't really like oatmeal.  So word to the wise -- if you don't like oats...what they hell were you looking at this recipe for in the first place?


INGREDIENTS:
1 c. wheat flour
1/4 c. flax meal
1/4 c. Splenda brown sugar blend
1/4 c. brown sugar
1 tsp. cinnamon
1/2 tsp. salt
3/4 c. butter or margarine (I subbed prune puree for 2 1/2 tbsp. of it)
1/2 tsp. milk
2 c. oats
1 jar jelly, jam, or preserves of your choice

DIRECTIONS:
1. Preheat oven to 375F.

2. Combine flour, flax meal, Splenda, sugar, cinnamon, and salt in a microwave-safe bowl small enough to fit in your microwave (this is a just in case option I'll talk about below).


3. Cut the butter into small pieces or slices and mix into dry ingredients.  If the butter is too cold to mix and won't combine, throw the bowl into the microwave in 10-second increments until the butter is soft enough to combine.  It's ornery.  Just tell it who's boss.


4.  Set aside 1/3 c. oats.  Add the remaining 1 2/3 c. oats to the mixture.  This is the point where you're gonna have to get your hands dirty.  Mix in the oats by hand and knead "until all the oats have found a home in the dough."  (Totally stole that phrase; it's so cute.)


5. Grease a 13"x9" pan or line it with parchment paper, lining the sides of the pan too.  I recommend a shallow one (unlike the one I used here).  A deep cookie sheet with sides would work just fine.

6. Press the dough into the pan.

7.  Cover the dough with the jam or preserves (I used pumpkin butter for this batch).  But beware!  If you don't use parchment paper, be super careful not to let the jam touch the sides of the pan.  Why? That jam will either burn or get so hard you won't be able to remove the bars without breaking them.  I learned this lesson for you; don't let my pain go to waste, people.


8. Sprinkle the remaining oats over the jam.

9.  Bake for about 25 until the top oats start to turn golden brown.


10.  Allow to cool a bit (until not hot but still pliable) and cut into bars.  On my second batch, the parchment paper in a shallow pan allowed me to slide the entire thing out of the pan and onto a cutting board, which made it way easier to cut and remove, but it's up to you whether you want to do that.


Although this does have a pretty good amount of butter and sugar, I took it to work as a snack since it was full of oats, flax, and jam, which I like to pretend is still a fruit.  There were several incarnations -- pumpkin, plum, plain, and carrot -- and I think the plum was the best.

Pumpkin Butter
Plum Preserves (left) and Carrot Jam (right)
Plain was not my fave; it really needs the sweetness and gelled texture of the fruit spread to bring it all together.  And by the way, when I said carrot, I meant carrot jam, not actual carrots or carrot cake style.  Of all the things I was surprised were phenomenal, it was that freaking carrot jam.  Who knew?

Official Grade: A+

LEMON BERRY SLUSHIE


If there's one thing I know, it's that you can put pretty much anything sweet in a slushie and it's good.  Now, you do have to balance out the sweetness and such, but fruit plus juice plus ice is always a great combination and this is no exception.  Winning!


INGREDIENTS:
1 packet Crystal Light lemonade
2 c. water
1 c. frozen whole cranberries
2 strawberry Fruit Chillers Freeze & Eat Tubes
1/2 - 1 c. water + additional
sugar to taste

DIRECTIONS:
1. Combine 2 cups water and packet of Crystal Light.  Freeze in ice cube trays.  (Note: I used two mini ice cube trays so the cubes would break down better in the blender.  You can get them at Bed Bath & Beyond for like three bucks.  I love them.)

2. Combine cranberries, Freeze & Eat Tubes, lemonade cubes, and 1/4 c. water.  Pulse, adding water as you go, until blended to your preferred consistency (you may use more or less water, depending).


3. Add sugar to taste.  (I think I used a couple tablespoons, just because the lemonade and cranberries make it so tart.


Although I prefer my smoothies made with whole fruit, this is a great way to make a delicious frozen treat with stuff you might already have on hand -- especially those of you who have little ones.  And you can pretty much translate this to any fruit juice, Crystal Light, or whatever so when you think your fruity beverages are about to spoil (especially the OJ), freeze it into cubes, empty them into a zipper baggie, and store for future occasions.

Official Grade: A 

PUMPKIN SEED POLENTA


With my quinoa adventure behind me, I thought "Hey, if quinoa is a seed, you can surely cook a pumpkin seeds, right?"  And since my last go-round with polenta went down in stinking flames (see the Losers list), I figured it was better to try and dress up my next batch with texture, not spices.  Not bad, I'd say.  Different, but not bad.


INGREDIENTS:
Pumpkin seeds
1 c. dried, shelled pumpkin seeds (pepitas)
enough water to cover
salt to taste

Polenta
1 c. cornmeal
2 2/3 c. water
1/2 dried chili pepper
1/8 tsp. garlic powder
2 tsp. raw sugar

DIRECTIONS:
1. Add pumpkin seeds to a pan or a small pot. (Yes, I was too lazy to wash a pot, but...whatever.)  Cover with water and add salt.  Sorry that I can't tell you how much; it was really a guessing game and I was tired.  If you've ever made boiled peanuts before, it's similar to that.

2. Simmer until fairly soft.  Again, I have to use a boiled peanuts reference, which is probably lost on anyone west of Texas.


3. Combine cornmeal, water, and chili pepper (which, by the way, you could probably leave out in favor of adding crushed red pepper after cooking; it didn't really do much).

4. Bring to a boil and reduce heat to low and cover.  Stir occasionally until cornmeal is soft and smooth.


5. Add garlic powder and sugar.  Stir to combine.

6. Mix in cooked pumpkin seeds.


While pumpkin seeds clearly can be cooked (and can be very delicious on their own, by the way), they never truly soften completely so when you mix creamy polenta with al dente seeds, the texture is kinda funky.  It tastes good so I think it would take the addition of another ingredient -- say, zucchini or some kind of meat -- to balance it out.

Knock yourself out; I'd like to see what you try.

Official Grade: A-

QUINOA WITH PEPPERONCINI


Before I became addicted to Food Network, I had never heard of quinoa.  So when I started watching shows like Chopped, Food Network Star, and Good Eats, I was like "I've gotta try this fancy quinoa stuff."  But you have to remember I heard the name but never saw it, so when I came across recipes for kwih-NO-uh, I had no flippin' idea what it was.  Luckily it wasn't long before I figured the two were the same thing and KEEN-wah, just like every other word in the English language, is stolen from somebody else.

And here's a fun fact for ya: Quinoa is NOT a grain.  It's a seed, more closely related to beets and spinach than to corn, rice, or wheat.  Totally blew my mind.

So for my first adventure with this mystical munchie, I decided to go simple.

INGREDIENTS:
3/4 c. quinoa
1 1/2 c. water
1/2 tsp. salt
2 forkfuls sliced pepperoncini

DIRECTIONS:
1.  This one's pretty simple.  Add quinoa and salt to water.  Boil, then reduce heat to low and cook, covered, until quinoa is cooked through and is light and fluffy.


2. Mix in pepperoncini and voila!  There you have it! Serving it up with a thai sauce or curry makes it a much happier side dish too.


Just like a homely, asocial nerd, I find that quinoa needs a little dressing up before it can really shine.  I imagine it has a lot of potential, but it didn't really have a chance to reach that here.  The pepperoncini did an okay job, but I imagine some sausage or veggies would really do well with it.  Although I wasn't really fond of the beans themselves, the sauce did a pretty awesome job of jazzing up the quinoa.  I'm thinking a curry might be a next step.  I've also heard it's also good for stuffing vegetables like zucchini or peppers, so it could probably go in a lot of directions.

But at the end of the day, my interest is piqued, so I'll be taking another look at it in the near future.  You could say I'm keen on quinoa.  See what I did there?

Official Grade: B-

LEMON PLUM DROPS


For most of my childhood, I thought prunes were disgusting.  Not because I'd ever tasted one, mind you, but because I got the impression that they were gross.  I can remember watching cartoons and TV shows as a kid and characters, when offered prunes, would stick out their tongues and wrinkle their noses.  There's also that idea of being wrinkled and old like a prune.  Not a raisin -- a prune.  But once I tried one, I realized something pretty profound: prunes are f***ing goooood.  All squishy and delicious and sh**....  Man, if you haven't tried them you're missing out and they've gotten a bad rap for way too long.  So bad, in fact, that if I called this recipe "Lemon Prune Drops" I might've risked you not looking at it.  But here's a fun tip: You can substitute prune puree for about half the fat in a baking recipe, best used in cakes and breads.  Prunetastic!


INGREDIENTS:
1 3/4 c. flour
pinch of salt
2 tbsp. water
1/2 c. prunes
1/4 c. white sugar
1/4 c. brown sugar
zest of 1 lemon
1/4 c. honey
1 1/2 tsp. water
1 tsp. baking soda
2 tbsp. lemon juice

DIRECTIONS:
1. Preheat oven to 325F.

2. Combine flour and salt and set aside.

3. In a small food processor, add 2 tbsp. water to prunes and puree.  (By the way, this is the standard recipe for prune puree that you can use to replace half the fat in a baking recipe.  Of course, I decided to go for broke and replace all the fat, but that's not for everybody.)


4. Mix together prune puree, lemon zest, sugar, honey and 1 1/2 tsp. water until very smooth, making sure to scrape down the sides.

5. In a large cup, combine lemon juice and baking soda (science project, anyone?)


6.  Add lemon juice mixture to prune mixture.


7.  Add flour in intervals, mixing in as you go.


8. Mix the dough by hand a bit, kneading so you can get everything stuck together and all the ingredients can enjoy each other's company.


9.  Roll into 1" balls and bake for 10-15 minutes until the bottoms are golden brown.  I also tried making 1/2" balls and they cook quicker (maybe 6-8 minutes) and are more bite-sized.  


This recipe is a spin-off of the one I found at Sophistimom.  The drops didn't flatten out like the original recipe and I think they lacked the original lemoniness, but they were good nonetheless.  The prune puree as a substitute for fat is really best used in cakey things, not cookie-type baked goods, but I was okay with it.  They were definitely chewy and not something I would have made if I'd known how they would turn out, but I found myself looking forward to eating them after dinner and I kind of couldn't stop.  So take that as you will -- they're a little weird but a lot yummy.

Official Grade: B+

SEAFOOD CHOWDAH


Time for some chowdah!  In my constant attempt to do the least work possible in preparing meals, I thought it might be a smashing idea to buy some soup starters.  So far, I'm 0 for 1.  I very much enjoyed the corn chowder I made...as it was going down the drain.  Blech.  So here was my second attempt at a chowder and it was pretty decent, although I think it could have been dressed up with a bit of carrots, celery, and maybe some actual seafood (yeah, whoda thunk it).

Just a note, there's not really a recipe for this as was straight off the box and I unfortunately threw out the box before I could write this post.  But if you want to make some of your own, just go to your local Ross and find this box:


Also, I'd like to offer a tip when making soup from a mix: add the wet ingredients gradually.  Mix them in at maybe half-cup intervals and you'll avoid the nasty lumps that often occur when using a mix.

This tip also works for gravies and sauces -- anything where you have fine powders combining with liquid.


Bottom line on this one is it's okay.  Like I said, some veggies and some seafood chunks probably would have brought it to another level.  I paired it with my Alabama Fire Crackers, which was a nice combo that I recommend.  Anyway, it's a good place to start but not necessarily stellar on its own.

Official Grade: B-