Wednesday, January 4, 2012

OAT BERRY BARS


If there's one recipe that I never would have thought to try but will keep 'til the day I die, it's this one.  Originally from Rachel Ray and reincarnated on Beloved Green, I put my own spin on the recipe -- some substitutions and altered directions -- and it's downright awesome.  I will warn you that my sister actually didn't like it, but she said it's because she doesn't really like oatmeal.  So word to the wise -- if you don't like oats...what they hell were you looking at this recipe for in the first place?


INGREDIENTS:
1 c. wheat flour
1/4 c. flax meal
1/4 c. Splenda brown sugar blend
1/4 c. brown sugar
1 tsp. cinnamon
1/2 tsp. salt
3/4 c. butter or margarine (I subbed prune puree for 2 1/2 tbsp. of it)
1/2 tsp. milk
2 c. oats
1 jar jelly, jam, or preserves of your choice

DIRECTIONS:
1. Preheat oven to 375F.

2. Combine flour, flax meal, Splenda, sugar, cinnamon, and salt in a microwave-safe bowl small enough to fit in your microwave (this is a just in case option I'll talk about below).


3. Cut the butter into small pieces or slices and mix into dry ingredients.  If the butter is too cold to mix and won't combine, throw the bowl into the microwave in 10-second increments until the butter is soft enough to combine.  It's ornery.  Just tell it who's boss.


4.  Set aside 1/3 c. oats.  Add the remaining 1 2/3 c. oats to the mixture.  This is the point where you're gonna have to get your hands dirty.  Mix in the oats by hand and knead "until all the oats have found a home in the dough."  (Totally stole that phrase; it's so cute.)


5. Grease a 13"x9" pan or line it with parchment paper, lining the sides of the pan too.  I recommend a shallow one (unlike the one I used here).  A deep cookie sheet with sides would work just fine.

6. Press the dough into the pan.

7.  Cover the dough with the jam or preserves (I used pumpkin butter for this batch).  But beware!  If you don't use parchment paper, be super careful not to let the jam touch the sides of the pan.  Why? That jam will either burn or get so hard you won't be able to remove the bars without breaking them.  I learned this lesson for you; don't let my pain go to waste, people.


8. Sprinkle the remaining oats over the jam.

9.  Bake for about 25 until the top oats start to turn golden brown.


10.  Allow to cool a bit (until not hot but still pliable) and cut into bars.  On my second batch, the parchment paper in a shallow pan allowed me to slide the entire thing out of the pan and onto a cutting board, which made it way easier to cut and remove, but it's up to you whether you want to do that.


Although this does have a pretty good amount of butter and sugar, I took it to work as a snack since it was full of oats, flax, and jam, which I like to pretend is still a fruit.  There were several incarnations -- pumpkin, plum, plain, and carrot -- and I think the plum was the best.
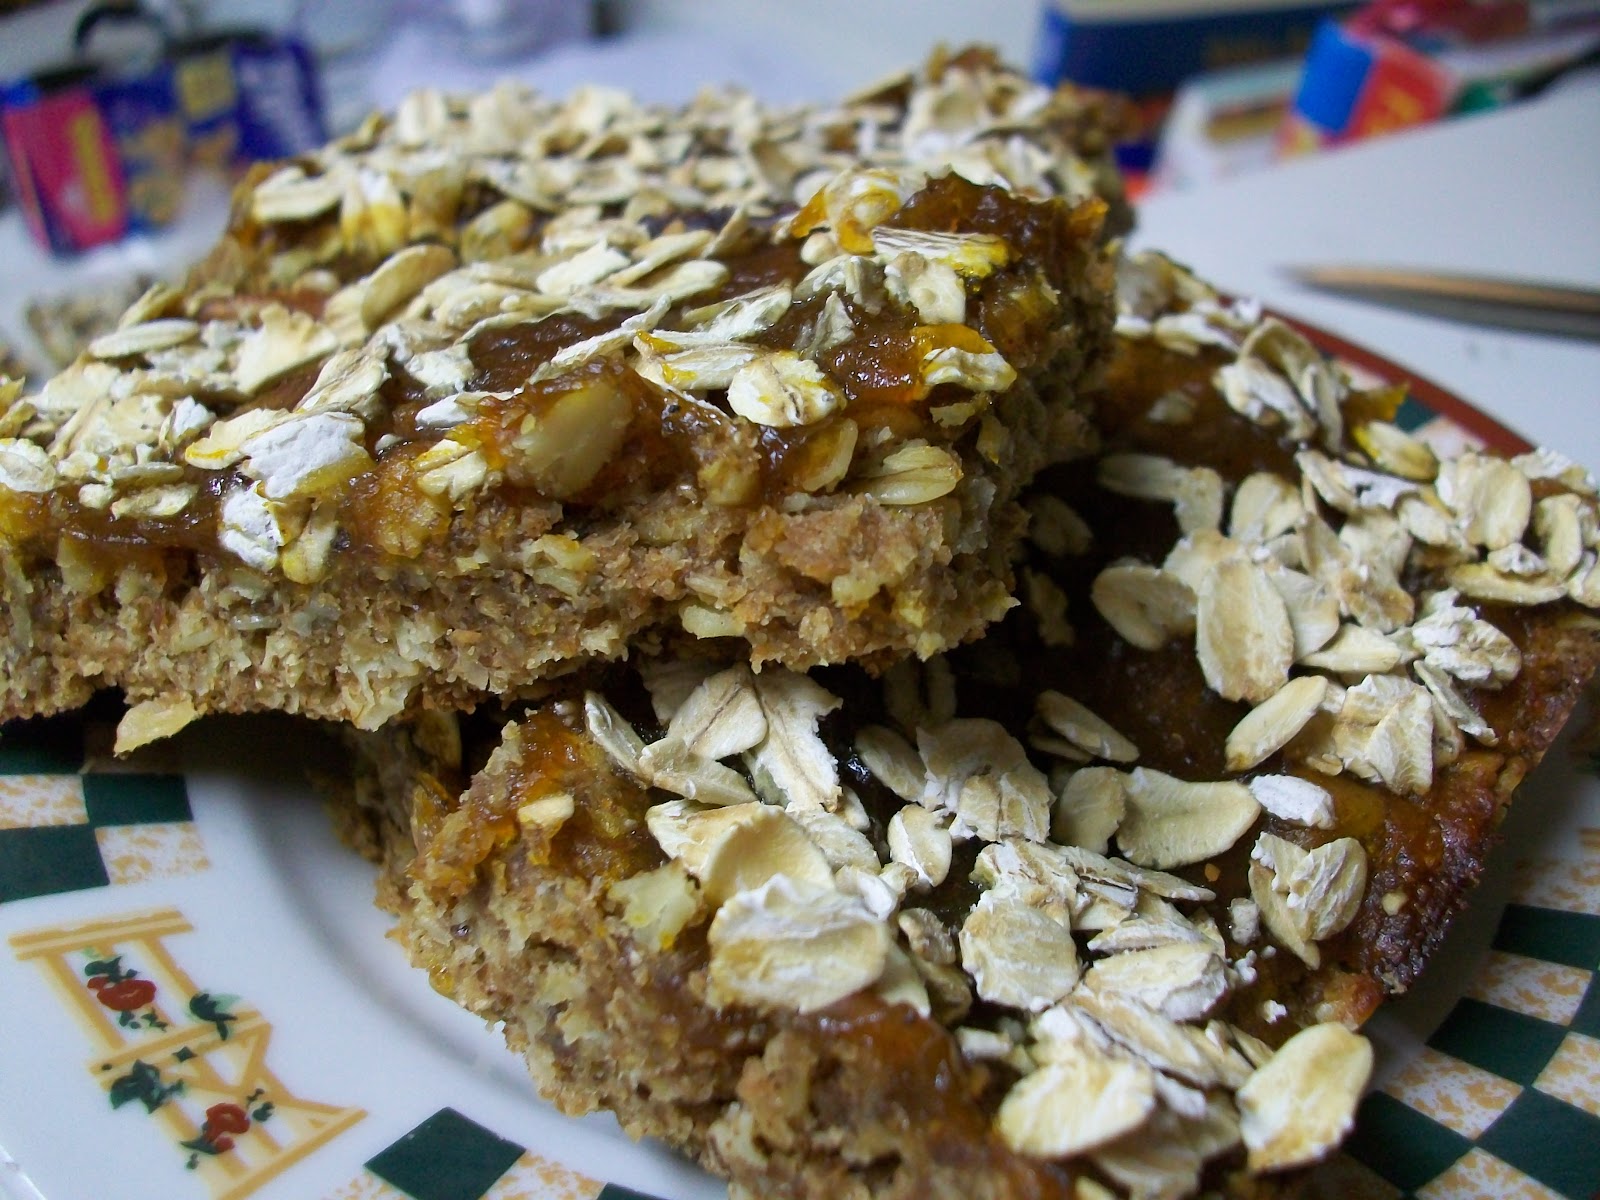
Pumpkin Butter
Plum Preserves (left) and Carrot Jam (right)
Plain was not my fave; it really needs the sweetness and gelled texture of the fruit spread to bring it all together.  And by the way, when I said carrot, I meant carrot jam, not actual carrots or carrot cake style.  Of all the things I was surprised were phenomenal, it was that freaking carrot jam.  Who knew?

Official Grade: A+

LEMON BERRY SLUSHIE


If there's one thing I know, it's that you can put pretty much anything sweet in a slushie and it's good.  Now, you do have to balance out the sweetness and such, but fruit plus juice plus ice is always a great combination and this is no exception.  Winning!


INGREDIENTS:
1 packet Crystal Light lemonade
2 c. water
1 c. frozen whole cranberries
2 strawberry Fruit Chillers Freeze & Eat Tubes
1/2 - 1 c. water + additional
sugar to taste

DIRECTIONS:
1. Combine 2 cups water and packet of Crystal Light.  Freeze in ice cube trays.  (Note: I used two mini ice cube trays so the cubes would break down better in the blender.  You can get them at Bed Bath & Beyond for like three bucks.  I love them.)

2. Combine cranberries, Freeze & Eat Tubes, lemonade cubes, and 1/4 c. water.  Pulse, adding water as you go, until blended to your preferred consistency (you may use more or less water, depending).


3. Add sugar to taste.  (I think I used a couple tablespoons, just because the lemonade and cranberries make it so tart.


Although I prefer my smoothies made with whole fruit, this is a great way to make a delicious frozen treat with stuff you might already have on hand -- especially those of you who have little ones.  And you can pretty much translate this to any fruit juice, Crystal Light, or whatever so when you think your fruity beverages are about to spoil (especially the OJ), freeze it into cubes, empty them into a zipper baggie, and store for future occasions.

Official Grade: A 

PUMPKIN SEED POLENTA


With my quinoa adventure behind me, I thought "Hey, if quinoa is a seed, you can surely cook a pumpkin seeds, right?"  And since my last go-round with polenta went down in stinking flames (see the Losers list), I figured it was better to try and dress up my next batch with texture, not spices.  Not bad, I'd say.  Different, but not bad.


INGREDIENTS:
Pumpkin seeds
1 c. dried, shelled pumpkin seeds (pepitas)
enough water to cover
salt to taste

Polenta
1 c. cornmeal
2 2/3 c. water
1/2 dried chili pepper
1/8 tsp. garlic powder
2 tsp. raw sugar

DIRECTIONS:
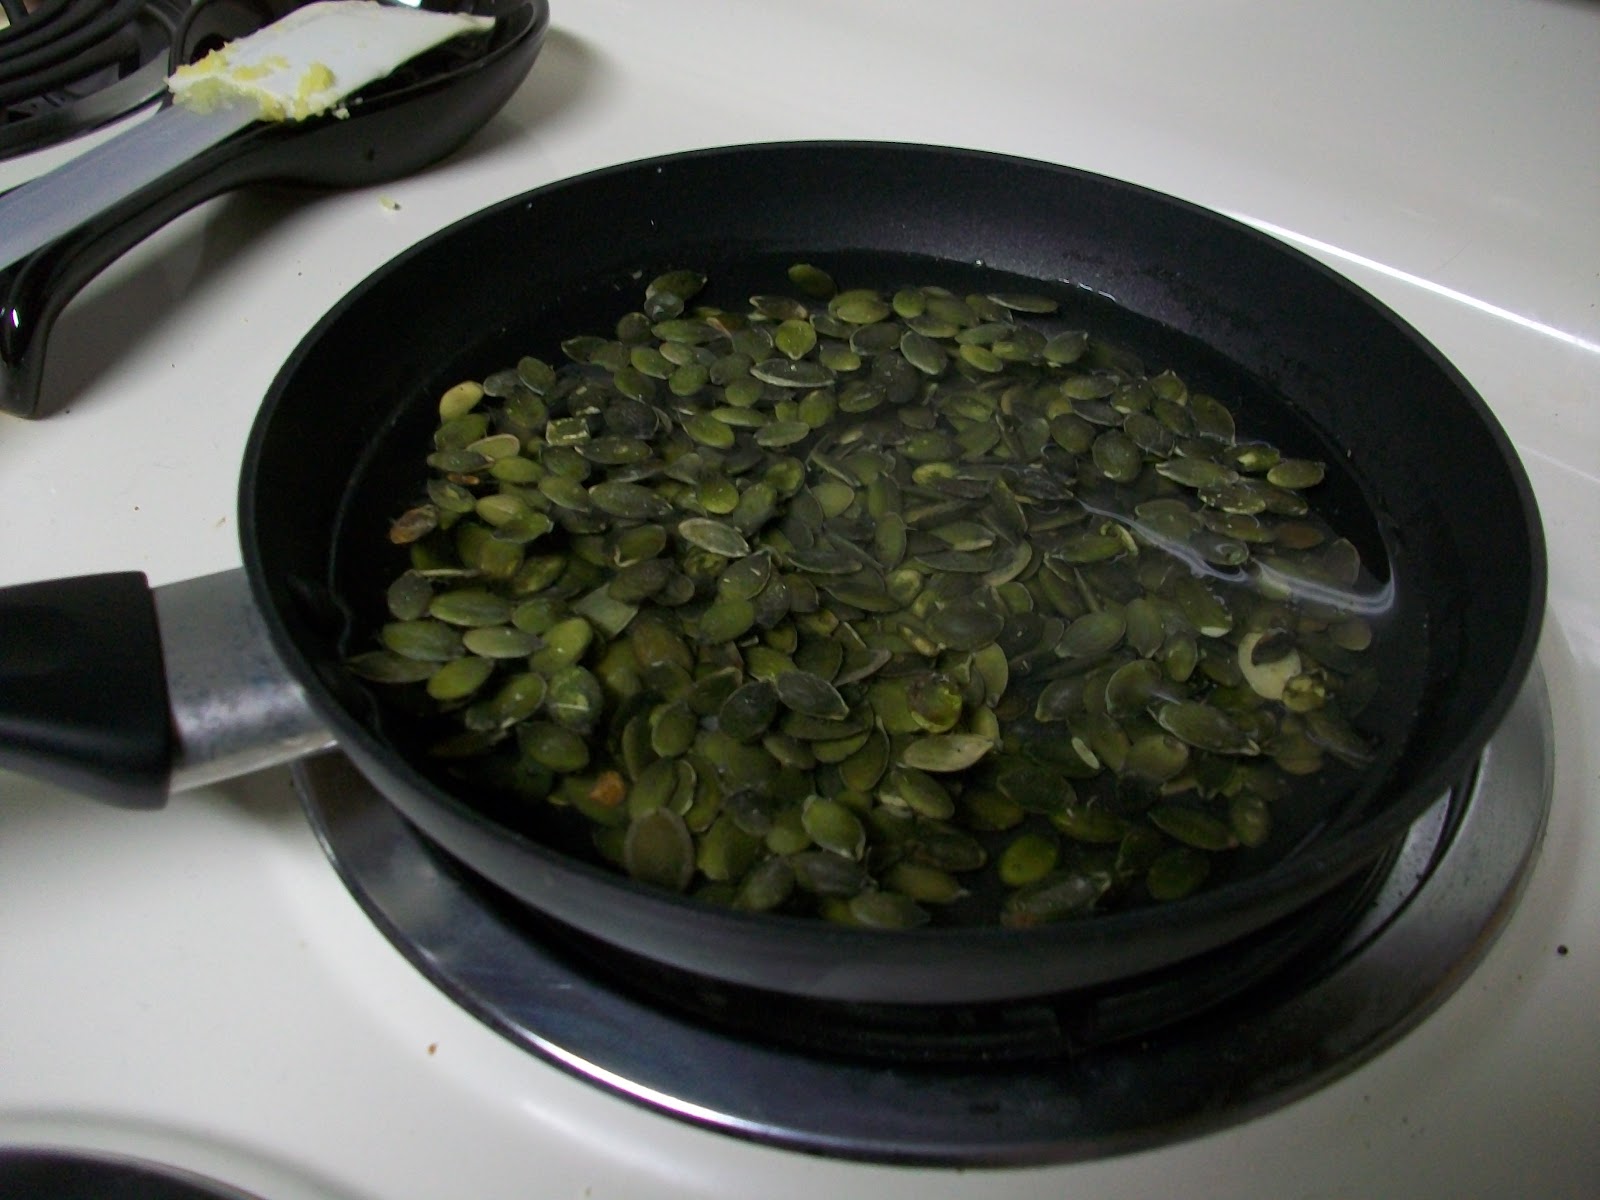
1. Add pumpkin seeds to a pan or a small pot. (Yes, I was too lazy to wash a pot, but...whatever.)  Cover with water and add salt.  Sorry that I can't tell you how much; it was really a guessing game and I was tired.  If you've ever made boiled peanuts before, it's similar to that.

2. Simmer until fairly soft.  Again, I have to use a boiled peanuts reference, which is probably lost on anyone west of Texas.


3. Combine cornmeal, water, and chili pepper (which, by the way, you could probably leave out in favor of adding crushed red pepper after cooking; it didn't really do much).

4. Bring to a boil and reduce heat to low and cover.  Stir occasionally until cornmeal is soft and smooth.


5. Add garlic powder and sugar.  Stir to combine.

6. Mix in cooked pumpkin seeds.


While pumpkin seeds clearly can be cooked (and can be very delicious on their own, by the way), they never truly soften completely so when you mix creamy polenta with al dente seeds, the texture is kinda funky.  It tastes good so I think it would take the addition of another ingredient -- say, zucchini or some kind of meat -- to balance it out.

Knock yourself out; I'd like to see what you try.

Official Grade: A-

QUINOA WITH PEPPERONCINI


Before I became addicted to Food Network, I had never heard of quinoa.  So when I started watching shows like Chopped, Food Network Star, and Good Eats, I was like "I've gotta try this fancy quinoa stuff."  But you have to remember I heard the name but never saw it, so when I came across recipes for kwih-NO-uh, I had no flippin' idea what it was.  Luckily it wasn't long before I figured the two were the same thing and KEEN-wah, just like every other word in the English language, is stolen from somebody else.

And here's a fun fact for ya: Quinoa is NOT a grain.  It's a seed, more closely related to beets and spinach than to corn, rice, or wheat.  Totally blew my mind.

So for my first adventure with this mystical munchie, I decided to go simple.

INGREDIENTS:
3/4 c. quinoa
1 1/2 c. water
1/2 tsp. salt
2 forkfuls sliced pepperoncini

DIRECTIONS:
1.  This one's pretty simple.  Add quinoa and salt to water.  Boil, then reduce heat to low and cook, covered, until quinoa is cooked through and is light and fluffy.


2. Mix in pepperoncini and voila!  There you have it! Serving it up with a thai sauce or curry makes it a much happier side dish too.


Just like a homely, asocial nerd, I find that quinoa needs a little dressing up before it can really shine.  I imagine it has a lot of potential, but it didn't really have a chance to reach that here.  The pepperoncini did an okay job, but I imagine some sausage or veggies would really do well with it.  Although I wasn't really fond of the beans themselves, the sauce did a pretty awesome job of jazzing up the quinoa.  I'm thinking a curry might be a next step.  I've also heard it's also good for stuffing vegetables like zucchini or peppers, so it could probably go in a lot of directions.

But at the end of the day, my interest is piqued, so I'll be taking another look at it in the near future.  You could say I'm keen on quinoa.  See what I did there?

Official Grade: B-

LEMON PLUM DROPS


For most of my childhood, I thought prunes were disgusting.  Not because I'd ever tasted one, mind you, but because I got the impression that they were gross.  I can remember watching cartoons and TV shows as a kid and characters, when offered prunes, would stick out their tongues and wrinkle their noses.  There's also that idea of being wrinkled and old like a prune.  Not a raisin -- a prune.  But once I tried one, I realized something pretty profound: prunes are f***ing goooood.  All squishy and delicious and sh**....  Man, if you haven't tried them you're missing out and they've gotten a bad rap for way too long.  So bad, in fact, that if I called this recipe "Lemon Prune Drops" I might've risked you not looking at it.  But here's a fun tip: You can substitute prune puree for about half the fat in a baking recipe, best used in cakes and breads.  Prunetastic!


INGREDIENTS:
1 3/4 c. flour
pinch of salt
2 tbsp. water
1/2 c. prunes
1/4 c. white sugar
1/4 c. brown sugar
zest of 1 lemon
1/4 c. honey
1 1/2 tsp. water
1 tsp. baking soda
2 tbsp. lemon juice

DIRECTIONS:
1. Preheat oven to 325F.

2. Combine flour and salt and set aside.

3. In a small food processor, add 2 tbsp. water to prunes and puree.  (By the way, this is the standard recipe for prune puree that you can use to replace half the fat in a baking recipe.  Of course, I decided to go for broke and replace all the fat, but that's not for everybody.)


4. Mix together prune puree, lemon zest, sugar, honey and 1 1/2 tsp. water until very smooth, making sure to scrape down the sides.

5. In a large cup, combine lemon juice and baking soda (science project, anyone?)


6.  Add lemon juice mixture to prune mixture.


7.  Add flour in intervals, mixing in as you go.


8. Mix the dough by hand a bit, kneading so you can get everything stuck together and all the ingredients can enjoy each other's company.


9.  Roll into 1" balls and bake for 10-15 minutes until the bottoms are golden brown.  I also tried making 1/2" balls and they cook quicker (maybe 6-8 minutes) and are more bite-sized.  


This recipe is a spin-off of the one I found at Sophistimom.  The drops didn't flatten out like the original recipe and I think they lacked the original lemoniness, but they were good nonetheless.  The prune puree as a substitute for fat is really best used in cakey things, not cookie-type baked goods, but I was okay with it.  They were definitely chewy and not something I would have made if I'd known how they would turn out, but I found myself looking forward to eating them after dinner and I kind of couldn't stop.  So take that as you will -- they're a little weird but a lot yummy.

Official Grade: B+

SEAFOOD CHOWDAH


Time for some chowdah!  In my constant attempt to do the least work possible in preparing meals, I thought it might be a smashing idea to buy some soup starters.  So far, I'm 0 for 1.  I very much enjoyed the corn chowder I made...as it was going down the drain.  Blech.  So here was my second attempt at a chowder and it was pretty decent, although I think it could have been dressed up with a bit of carrots, celery, and maybe some actual seafood (yeah, whoda thunk it).

Just a note, there's not really a recipe for this as was straight off the box and I unfortunately threw out the box before I could write this post.  But if you want to make some of your own, just go to your local Ross and find this box:


Also, I'd like to offer a tip when making soup from a mix: add the wet ingredients gradually.  Mix them in at maybe half-cup intervals and you'll avoid the nasty lumps that often occur when using a mix.

This tip also works for gravies and sauces -- anything where you have fine powders combining with liquid.


Bottom line on this one is it's okay.  Like I said, some veggies and some seafood chunks probably would have brought it to another level.  I paired it with my Alabama Fire Crackers, which was a nice combo that I recommend.  Anyway, it's a good place to start but not necessarily stellar on its own.

Official Grade: B-

Monday, November 21, 2011

BEVERAGES -- A KEEPER & A LOSER


So besides all the food, there are a few drinkables I needed to get out of the way, namely lemonade and grenadine.  And on top of that, why not throw in some frozen fruit and frozen fruit icey sticks for good measure.


LEMON-BERRY SLUSHIE INGREDIENTS:
1 tray mini frozen lemonade cubes (just freeze some Crystal Light lemonade in a mini ice cube tray)
1/2 cup frozen cranberries
1 Fruit Chillers Freeze & Eat Tube (strawberry)
2/3 c. Crystal Light lemonade
1 tbsp. sugar (or more, to taste)

LEMON-BERRY SLUSHIE DIRECTIONS:
1. Add lemonade cubes, cranberries, and fruit chiller tube to blender and pulse until things are chopped up a bit.


2. Add 1/3 c. lemonade and sugar, blend, then add the other 1/3 c. and blend.


3. Enjoy!


GINGER ALE & GRENADINE INGREDIENTS:
1 can ginger ale
dash of grenadine


GINGER ALE & GRENADINE DIRECTIONS:
Really? Do I need to tell you?

It make a really pretty beverage, but unfortunately doesn't taste very good in my opinion.  See, one thing I've discovered from this mini-experiment was that I do not like grenadine.  Not in the slightest.  Why, you ask, would I own a bottle then?  Well, it had absolutely nothing to do with drinking it.  I was testing about ten recipes for fake movie blood and one of them included grenadine.  But when I'd only used half a bottle of it, I figured it would be a shame to waste the rest and that I'd use it at some point.  Let me tell you, I tried like the dickens to like it, but not being a fan of cherry-flavored cough syrup, I whole-heartedly reject it.

Official Grade for Lemon-Berry Slushie: A
Official Grade for Ginger Ale & Grenadine: F

CORNMEAL PIZZA CRUST


Another quickie -- this is a great go-to pizza crust but not what you would normally think of.  It's got kind of a crunchy element to it since it's main ingredient is cornmeal, but I really liked it and I hope you do to.

INGREDIENTS:
1/2 c. yellow cornmeal
1 c. flour
2 tsp. baking powder
1/2 tsp. salt
1/2 c. water
2 tbsp. olive oil

DIRECTIONS:
1. Preheat oven to 200F.
2. Combine cornmeal, flour, baking powder, and salt in a bowl.


3. Make well in the center and add water and olive oil.
4. Combine and knead for about 8 minutes until the dough is elastic and shiny.


5. Roll out to make a crust and use the cooking directions for your favorite pizza.  OR you can do what I did a bake it on it's own -- in crust or breadstick form --15-20 minutes or until golden.


Of course, I had no cheese, no tomatoes, nothing that traditionally goes on a pizza.  But a woman I worked with over the summer mentioned Disneyland had a peanut butter and jelly pizza.  Well...why not?


I wouldn't necessarily do the PB&J thing again, but those breadsticks are boss with some plain ol' melted butter.

Official Grade: A

Sunday, November 20, 2011

STOVE-TOP POTPOURRI


Aaaaand now for something a little different.  I know it says "Mutant Meals" up there but sometimes I like to think a little outside the box.  And since it's now officially the holiday season, what better way to knock off some good-smelly items than to making a good-smelly concoction that will make your brain explode with warm fuzzies and the sudden need to hug or cuddle someone.

Warmth.  Cheer.  Wanting to rub yourself up against people.  That's what the holidays are all about, eh?


INGREDIENTS:
4 cinnamon sticks
1/2 cup whole cranberries
1 tbsp. whole cloves
water

DIRECTIONS:
1. Combine cinnamon sticks, cranberries, and cloves in a medium saucepan.
2. Cover with water.
3. Set saucepan on burner at its lowest setting and Voila! In about 15 minutes your kitchen will smell like cookies, lattes, and pie.

My apartment is small enough that it drifts over to the living room on its own, but you can take it for a little ride around the house if you like.  My mom used to do this with a pot of water and ground cinnamon when I was a kid.  The best part is after you let it hang out on the stove for awhile, you can let it cool and stick it in the fridge. (Freezer, maybe?)  I used it four days before I decided it had run its course.  According to the original recipe, which I can't find at the moment, you can also add orange peels for a citrus-y scent.

And just in time for the season, you can bag up the dry ingredients and give it as a gift if you're going to someone else's house for Thanksgiving dinner or a holiday party.

Official Grade: A+


ALABAMA FIRE CRACKERS & HOT TACO CRACKERS


I don't know why I ever buy saltine crackers.  No, wait.  I know exactly why I buy saltine crackers.  I go down the snack aisle browsing for crackers and always make the huge mistake of looking at the nutritional facts.  And instead of saying "Oh, Angela.  Just buy the crackers you like and use some self control," I say "Oh, Angela.  Buy the saltines.  They're way better for you and you shouldn't trust yourself with delicious things."

I'm literally rolling my eyes at myself right now.  I know it's dumb.  After all this cooking -- and ultimately having to force myself to eat the things I've bought -- I can honestly say that all of me, not some of me, ALL OF ME now says "BUY SOME DAMN F***ING CRACKERS, BITCH.  AND BUY THE GOOD ONES."  Why? Because when all is said and done, the only way I will eat an entire box of saltines is this way.  I made two batches, one with a twist on an existing recipe and one of my own, just to make it interesting:


INGREDIENTS:
<<Alabama Fire Crackers>>
1/4 tsp. garlic powder
1/4 tsp. onion powder
1/8 tsp. black pepper
3/4 tbsp. chili flakes
1 tbsp. from mix of 1 3/8 tsp. paprika, 1/2 tsp. sugar, 1/2 tsp. salt
1/2 cup olive oil
1 sleeve saltine crackers

<<Hot Taco Crackers>>
1/2 tsp. garlic powder
1/2 tsp. onion powder
1/4 tsp. black pepper
1 envelope taco seasoning
1 tbsp. chili flakes
1/2 cup + 1 tbsp. olive oil
2 sleeves saltine crackers

DIRECTIONS (the same for both recipes):
1. Mix seasoning together in a large Ziploc bag and add oil.  Seal bag securely and mix spices with oil by squishing them around.


2. Open bag and add crackers.  Shake that baby up until all the crackers are fairly well coated.


BUT (and this is a serious "but") make sure the bag is sealed properly.  Or this will happen.

RIP Crackers #1-5.  You gave your lives so others could learn.
3. Lay flat on the counter for 30 minutes.  
4. Shake and turn over.  Let sit for another 30 minutes. 
5. Shake and turn over.  Let sit for another 30 minutes. (Yes, again.)
6. All done!  Munch munch those munchies!

This is why I now have no problem buying any type of cracker.  It turns out that to make crackers good, oftentimes a little oil has to enter the picture to get the seasoning to stick and coat them with deliciousness.  I would hands down make these again and I recommend them for a party or if you have to bring something to a potluck and you're tired of bringing ye olde tater salad.

Also, if you like your crackers spicier, add some more chili flakes.  These were just about perfect for me because I'm a lightweight, but my buddy Mike (who would bathe in capsaicin if given the chance) said they could be hotter.

Official Grade: A+