
Let's get this straight. I have MAJOR issues with pie. Like, major, deep seated childhood issues with pie -- especially apple. I won't go into it, but just understand I have avoided making pie for about fifteen years because I was in charge of it at Thanksgiving when I was a kid. So when I set out to make my first recipe with ingredients I could actually go out and buy, I had to make it a momentous occasion. I thought "Alright, kid. Let's go for broke." I couldn't stop at just a pie. I made mini pies.
Make a monumental recipe: check.
Face my fear apple pie: check.
Tackle the mini-pie: check.
Tri-f***ing-fecta.
The original recipe is from Pillsbury, but I made a couple alterations, cutting the apples into cubes instead of slicing them, adding the caramel to the filling, and using more crust (more surface area is needed for mini-pies, geeks), but the recipe is generally the same.
INGREDIENTS:
3 refrigerated pie crusts
1/4 cup finely chopped pecans
3/4 cup sugar
2 tbsp. flour
1 tsp. cinnamon
1/8 tsp. ground nutmeg
1 tbsp. lemon juice
6 medium cooking apples (I used 3 granny smith, 3 gala)
1/3 cup caramel ice cream topping
DIRECTIONS:
1. Allow crust to come to room temperature (about 15 minutes)
2. Roll out crusts on waxed paper and cut to desired size to fit in your cupcake tins. You'll kind of need to measure for your own tins and use a small bowl or large mug to cut out the rounds.
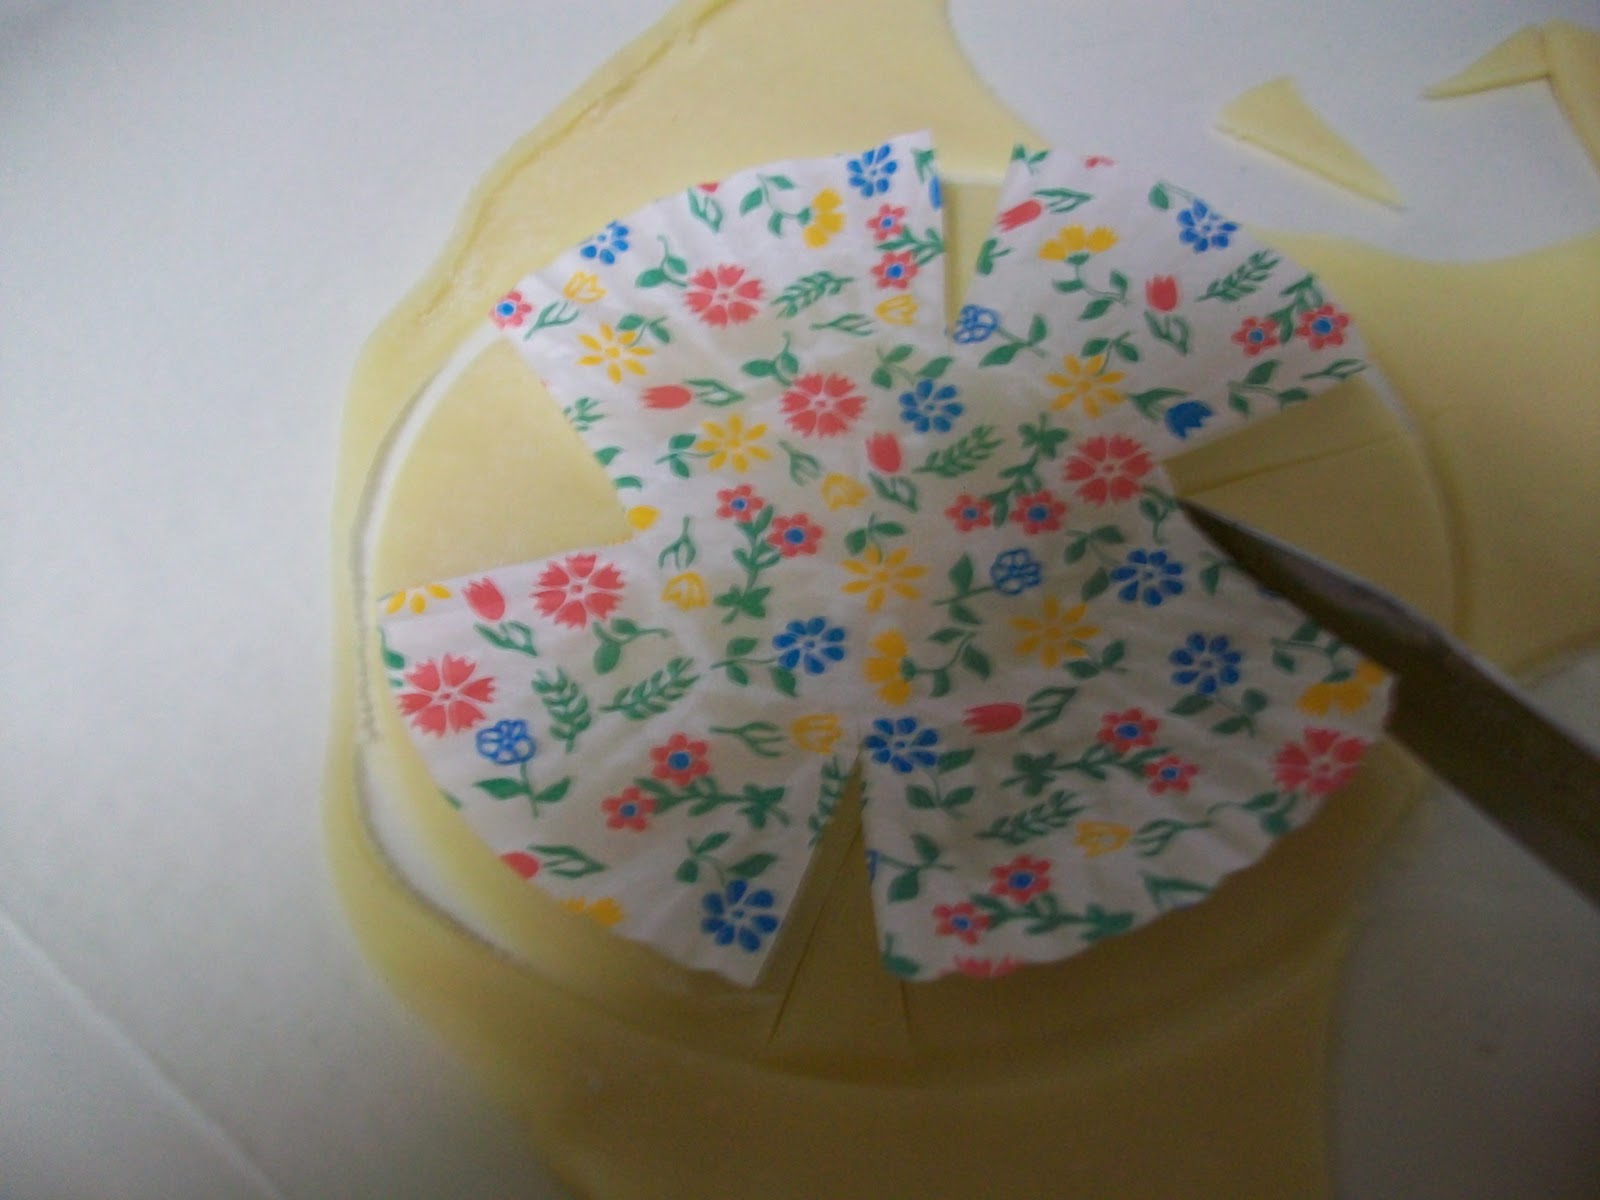
3. Cut out excess corners (you can ignore this if you like; it just cuts down on the crust a bit. I used a cupcake paper as a template.

4. Press crust rounds into ungreased cupcake tins. Set aside

5. Combine flour, sugar, and spices in a small bowl. Set aside.


6. Peel and chop apples into small cubes. Try to cut them all about the same size so they cook evenly.

7. Add spice mix and caramel to apples, turning over until ingredients are well combined.

8. Chop pecans if you didn't buy them already chopped. I recommend a mini food processor, which everyone should have. I love mine. (It sleeps on the pillow next to me.)

9. Sprinkle pecans into bottoms of crusts.
 |
| This was my "test pie." And a good thing, too! I forgot to put the sugar in the apples. What a dope. |
11. Bake at 425F for 30-45 minutes, checking every 10 minutes or so (through the window if you can) or until apples are tender and crusts are golden brown. If you find crusts are cooking too fast at around 15-20 minutes, cover crust edges with foil or turn heat down. (I can't remember what I did. Sorry!) Cool at least one hour before serving.

If I had it to do over again, I would just cook all the apples on the stove and bake the shells separately. The bottoms ended up a little soggy and I think that could be avoided by preparing the two components apart from each other. Also, I'd mix the pecans in with the apples. And I might just do a whole pie next time just because cutting all the dough was way more involved than it needed to be. All in all, though, I think it was a great success. Everybody liked them and they looked really cool too.
Oh, and I'm not afraid of pie anymore. If there was ever a time to use the term "epic win," it would be now.
Official Grade: A
These look AWESOME!!! I wish I had been there to eat one. And I LOVE your idea about the test pie! I'm wondering if you had any trouble getting them out of the muffin tin, and if so, what did you do? Also, what are the little turnover-looking pastries in the middle back of the bottom picture? Did you put apples in those, too? YUM!!
ReplyDeleteP.S. If you ever make them again, you could also add raisins to the apple mixture... because I know how you love some hot raisins. ;)
I would have pie phobias too if I had to make them as kid for thanksgiving. They still scare me, but your recipe is awesome!
ReplyDelete